GUI guide
Wake CFD Desktop provides interactive case authoring and mesh inspection. The current Desktop targets the following workflows:
- Interactive mesh inspection and zone/marker identification
- Visual case assembly with boundary condition setup
- Project-based organization with multiple cases
- Local solver execution and convergence monitoring
The GUI and CLI share the same JSONC input model. Export projects to JSONC for CLI execution or HPC operation.
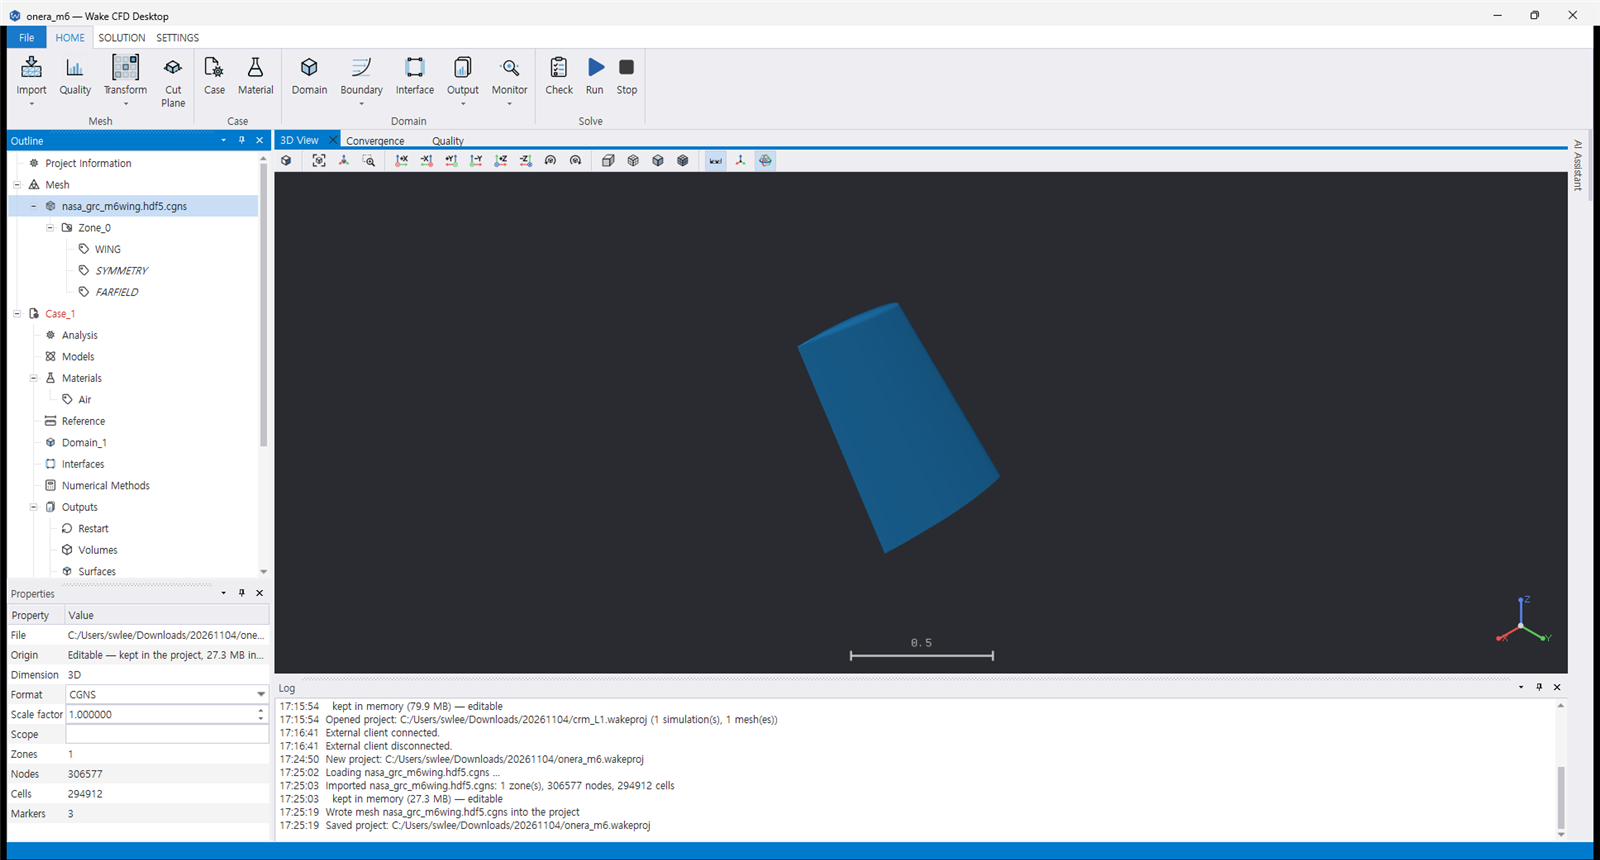
GUI chapters
ONERA M6 GUI quickstart Import, configure, and run the packaged example through the Desktop interface.
Create and configure a project Project creation, case setup, and configuration workflow.
Mesh and boundary conditions Mesh import, zone inspection, and boundary condition assignment.
Run and monitor Solver execution and convergence monitoring.
Review and export results Result inspection and JSONC export.
Find a topic
| Task | Start here |
|---|---|
| Install Wake CFD (Solver + Desktop) | Installation |
| Run the first example | ONERA M6 GUI quickstart |
| Import a mesh | Create and configure a project |
| Inspect mesh zones and markers | Mesh and boundary conditions |
| Create a new case | Create and configure a project |
| Configure boundary conditions | Mesh and boundary conditions |
| Set physical models and numerics | Create and configure a project |
| Run the solver locally | Run and monitor |
| Monitor convergence | Run and monitor |
| Export to JSONC | Review and export results |
GUI scope
The current Wake CFD Desktop addresses:
- Visual case authoring — Import meshes, configure physics, set boundary conditions
- Project management — Organize cases, track configurations
- Local execution — Run solvers, monitor convergence
For batch runs, parameter sweeps, and HPC operation, export to JSONC and use the CLI.