1. Getting started
This section guides you through Wake CFD installation and initial verification. Complete the platform-specific installation, run the included ONERA M6 wing verification case, and review the results to confirm that Wake CFD is correctly installed and operational.
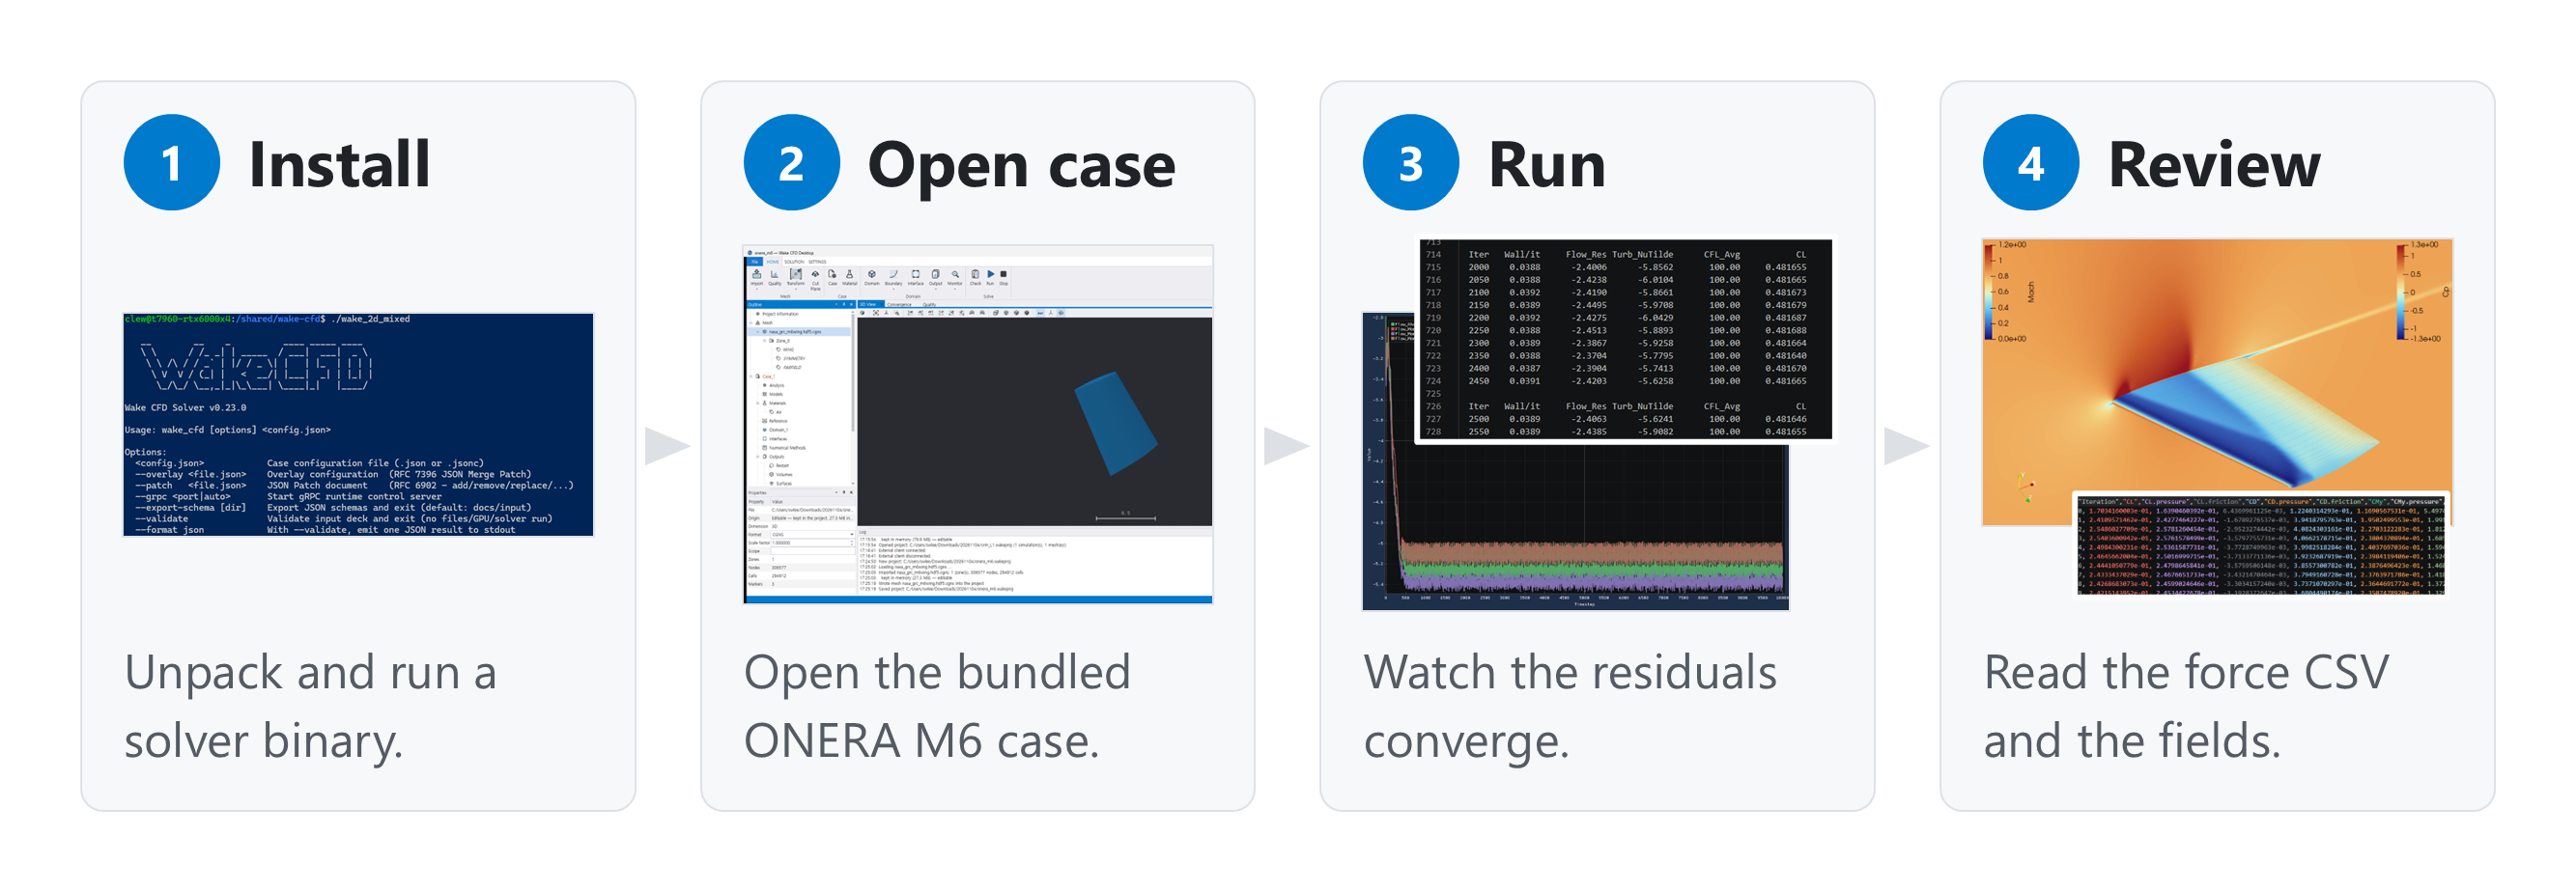
Install and run
Wake CFD is distributed in platform-specific formats for Windows and Linux. Complete the installation for your operating system, then execute the included ONERA M6 wing verification case.
- Install Wake CFD — Follow the platform-specific installation procedure: Installation
- Run the verification case — Execute the ONERA M6 example and review results: Quickstart: ONERA M6 wing
The installation procedure ensures that binaries and runtime libraries are correctly deployed. The verification case confirms that the solver executes and produces valid output. Completing both steps establishes a functional Wake CFD environment.
Installation prerequisite
For new installations, refer to Installation for distribution formats, system requirements, and platform-specific installation procedures.